How to Fix Roomba Error 40?
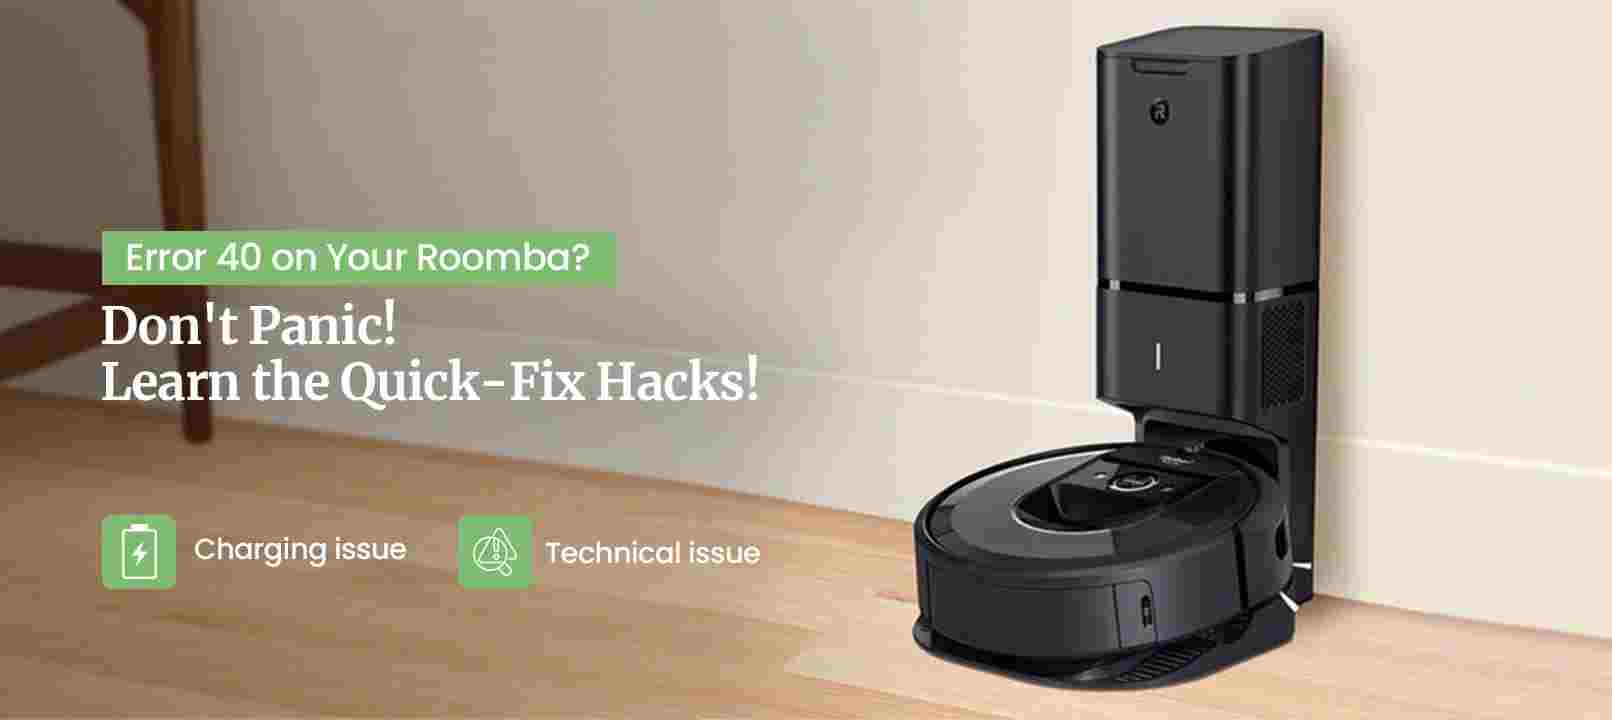
Roomba Error 40 is among so many questions we receive from thousands of iRobot Roomba users on a daily basis. In a nutshell, if your device is having problems, error 40 on Roomba will show up. Unless this problem is rectified, you will notice that your Roomba is not charging.
There could be a variety of causes for the iRobot not charging issue, ranging from Roomba battery life difficulties to HomeBase issues. So, here’s the ultimate stress-relieving tip: don’t panic or call a technician in a hurry. Most technicians are aware that you are under duress and may trick you out of hundreds of dollars.
We wrote this guide to help all Roomba users save hundreds of dollars and get rid of the iRobot Roomba error 40. This post contains everything you need to resolve the Roomba not charging issue. We recommend that you read this post all the way through and try out the tips and tricks on your smartphone at the same time.
What is a Roomba Error 40?
The error 40 Roomba is a technical issue that is related to the charging, operation, or functionality of your device. In simple words, if your device is having a charging issue or functionality problem, there may be a possibility of Roomba error 40 showing up on your device.
There can be multiple reasons for error 40 on Roomba robot vacuum. However, you can fix this issue easily, provided you perform all the steps with good patience. This may take a little time for you to fix the issue. Stay worry free as we are with you in this problem.
Causes Behind Roomba Error 40
To help you better understand the most potential reasons of iRobot Roomba error 40 issue, we have put down all the possible causes in this section. You will learn about the root cause of the issue and it will help you better troubleshoot the problem.
- Charging issue
- Functionality issue
- Technical issue
- Hardware problem
- Outdated firmware
- Obstructions
How to Troubleshoot Roomba Error 40 ?
In this section, you will finally learn how to fix the error 40 Roomba. If you come across the error 40 on Roomba, you can follow the below-mentioned steps to fix the issue:
1. Remove Obstacles
First of all, make sure your Roomba is not coming across any obstacles while performing the cleaning task. The room and surroundings of your robot vacuum should be from any obstructions. If there is something that is restricting the movement of the robot vacuum every now and again, the Roomba error 40 will show up.
2. Clean Roomba Brushes
Cross-check that the brushes of your robot vacuum are clean. Make sure hair and other fibers are not tangled into the brush as it can restrict the movement of your device. We suggest that you power Off the robot and take out all the dust, debris, and fibers from your Roomba brush.
3. Check For Blockage
Please check for any blockages inside your device. Kindly ensure that your robot’s dust can is emptied on a regular basis. If the dust can is not emptied, your Roomba may come across several internal blockages. That way, it will force your Roomba robot vacuum to stop working.
4. Reset Roomba
If you still come across the iRobot Roomba error 40, it means there’s still some problem active on your device. Make sure you reset Roomba to the factory default settings. Press and hold the HOME and CLEAN button for 20 seconds and then release it. It will reset your Roomba robot vacuum to the factory default settings.
5. Check the Battery
If you still come across the iRobot Roomba error 40, it means there’s still some problem active on your device. Make sure you reset your Roomba to the factory default settings. Press and hold the HOME and CLEAN button for 20 seconds and then release it. It will reset your Roomba robot vacuum to the factory default settings.
6. Clean the Filters
If you still see error 40 on Roomba, kindly take out the filter of your robot. Kindly clean your robot’s filter in order to make sure the suction problem does not show up on your device. After cleaning, put the filter back inside the robot.
7. Update the App and Roomba
Last but not least, if you still notice error 40 Roomba, it means you need to update your device. Before you login to the Roomba robot vacuum, make sure you update the iRobot Home app . After that, login to the iRobot account and go to the Settings. Check for the latest firmware updates for your robot. If there are any, follow the in-app instructions to update your robot’s firmware to the most recent version.
Conclusion
This post was all about the iRobot Roomba error 40. We discussed everything related to this error and causes of its occurrence. Moreover, this post discussed the ways through which you can fix error 40 on Roomba robot vacuum. Make sure you do not wait for this error to go on its own as it is a little serious issue and does not go on its own.
We hope this post was very helpful to you and that it allowed you to fix the issue without any hassle. If you still come across any issues with your robot vacuum, make sure you feel free to talk to our support team for more help.
FAQs
How do I Reset my Roomba Error Code?
You can reset the Roomba error code by resetting the device. Go to the iRobot Home app and reset your device through the application. Moreover, you can also reset your robot vacuum using the HOME and CLEAN button. Press and hold these two buttons for a few seconds and then release them. The error code will be reset.
What is the Error Code 99 Roomba?
The error code 99 Roomba indicates that your robot vacuum came across a mapping issue due to which it was not able to complete the cleaning task. Make sure you pay attention to your device when it shows up the error 99.
How do you do a Hard Reset on Roomba?
To do hard reset on Roomba, you need to press and hold the HOME and CLEAN button for at least 20 seconds. After that, release the button and your device will restore the factory default settings. Finally, the hard reset will be completed.