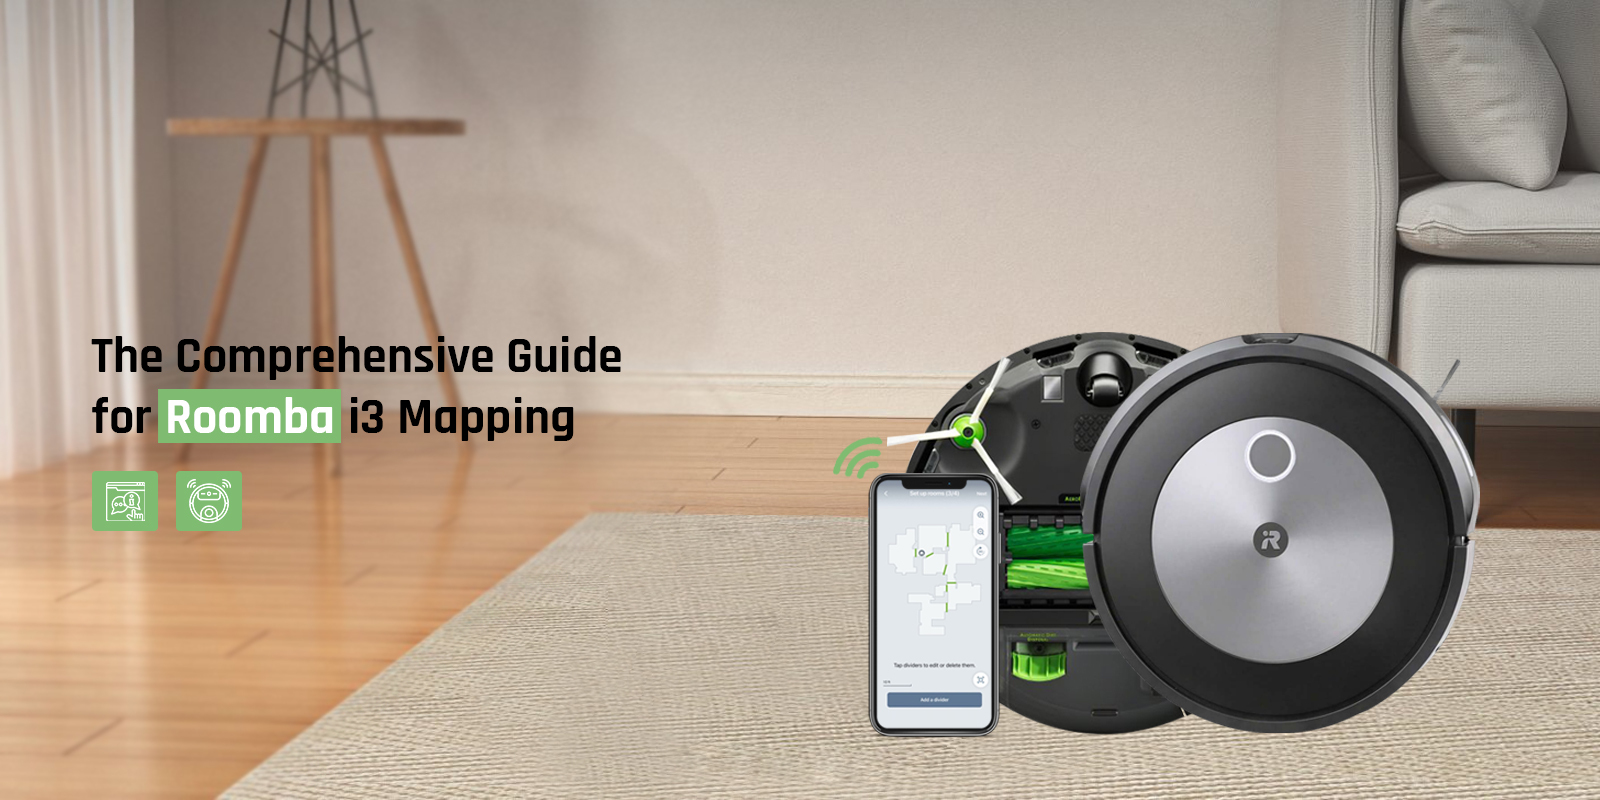
The Comprehensive Guide for Roomba i3 Mapping
The Roomba is one of the top robot vacuums of all time. This vacuum offers some remarkable features to the users. One of its features includes the Roomba i3 mapping feature. This is a renowned feature that several users enjoy. The mapping has proven to be extremely helpful for the users.
In this feature, the Roomba vacuum forms a map of the floor plan. Then, the vacuum follows the map it has formed and cleans the house accordingly. With the help of this feature, the vacuum is able to provide the best cleaning experience.
If you want to know how to map Roomba i3 and it’s working, don’t worry. We are here with this post to help users with the i3 Roomba mapping. This post will explain everything you need to know about the mapping feature.
We also discuss the procedure to enable the Roomba mapping feature. If you face any issues, we will also cover the issues you could face and the troubleshooting methods.
How Does the Roomba i3 Smart Mapping Work?
The Roomba vacuum supports cameras, sensors, and AI technology. This enables the vacuum to analyze its surroundings, learn the floor plan, and work accordingly. With the help of these features, the vacuum forms a map and then follows it to clean the house. Keep in mind that during the mapping run, the vacuum will not clean at all.
hus, you must send the vacuum on a mapping run for optimal functioning. The Roomba i3 forms a proper map in a single mapping run only. When a map is formed, you can name it, and make changes to it accordingly.
Steps to Initiate the i3 Roomba Mapping
To send the Roomba i3 on a mapping run, you just need to log into the app. Through the app, you can send the Roomba on a mapping run easily. Before you send the vacuum on a mapping run, you must tidy the house a bit. This will help the vacuum form a map easily. Otherwise, the vacuum might flag something as an obstacle, when it’s not really. To send the vacuum on a Rommba i3 mapping run, follow the steps below:
- Firstly, download the iRobot app on your smartphone.
- The app is available on both Play Store and App Store.
- Now, open the app and log into your account, if you have one.
- Otherwise, you can create an account from the app.
- Hereon set up the Roomba vacuum correctly following the instructions.
- When the vacuum has a stable WiFi connection, select the Map icon.
- After that, tap the Map card icon at the top right corner of the page.
- You need to click the Mapping Run button to open the mapping page.
- From this page, you need to tap the Start Mapping Run option.
- At last, the vacuum will start the mapping run and return to the dock when completed.
These are the steps to start the Roomba i3 mapping run. Ensure to charge the vacuum before you send it on a mapping run. Also, ensure to remove any obstacles like shoes, socks, mats, and other similar things, so the vacuum doesn’t mark them as a permanent obstacle.
How to Fix the i3 Roomba Mapping Issues?
If you are having trouble with the Roomba i3 plus mapping, you must fix it. There could be faults on your end, causing the issues. But you don’t have to worry, as you can fix the issue easily. You can try the following methods to fix the problems:
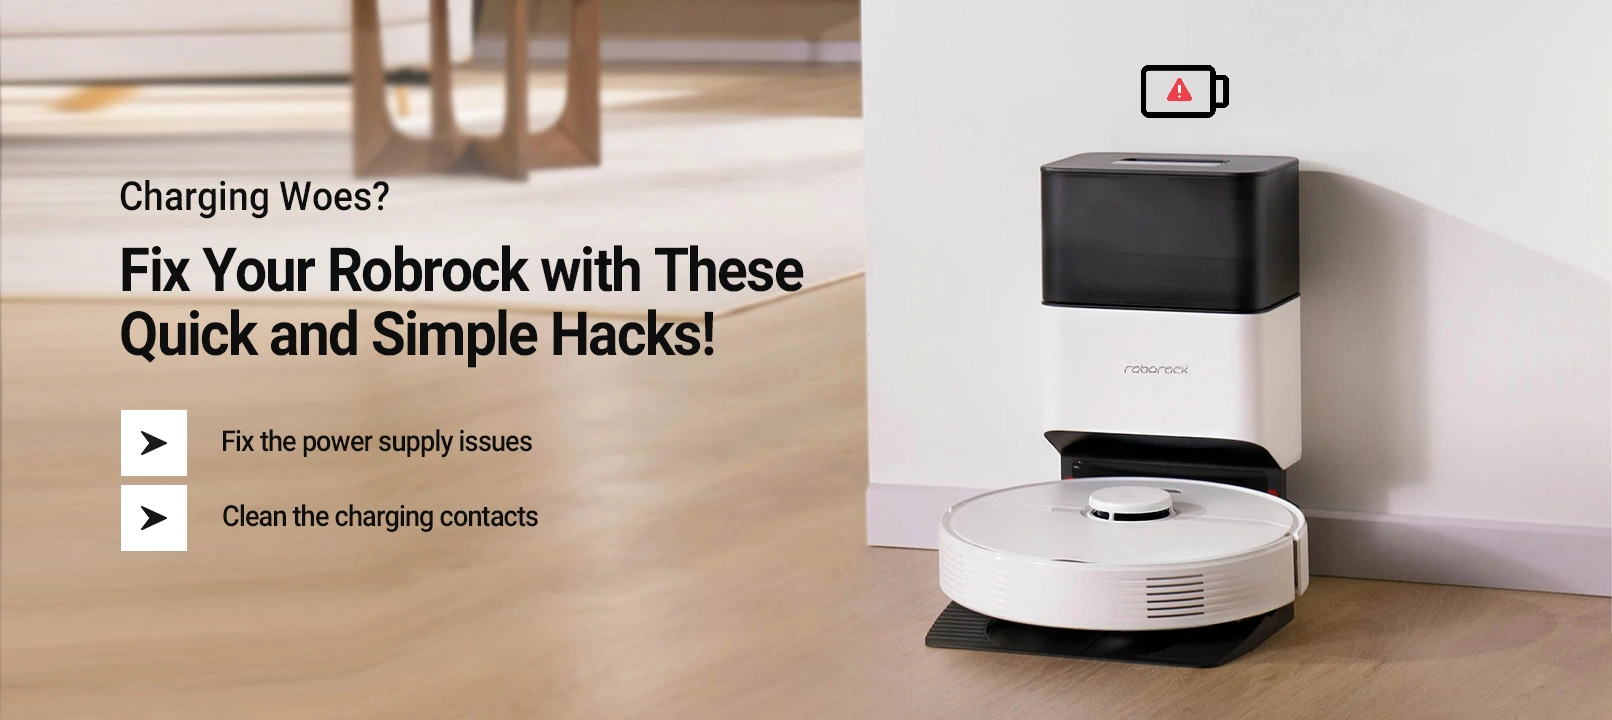
1. Charge the Vacuum
- The Roomba vacuum requires a sufficient charge to map the house properly.
- Thus, ensure to charge the vacuum before you send the vacuum on a mapping run.
- To send the vacuum to the charging dock, just press the Dock button on the vacuum.
- When the vacuum has a sufficient charge, you can send the vacuum on the mapping run.
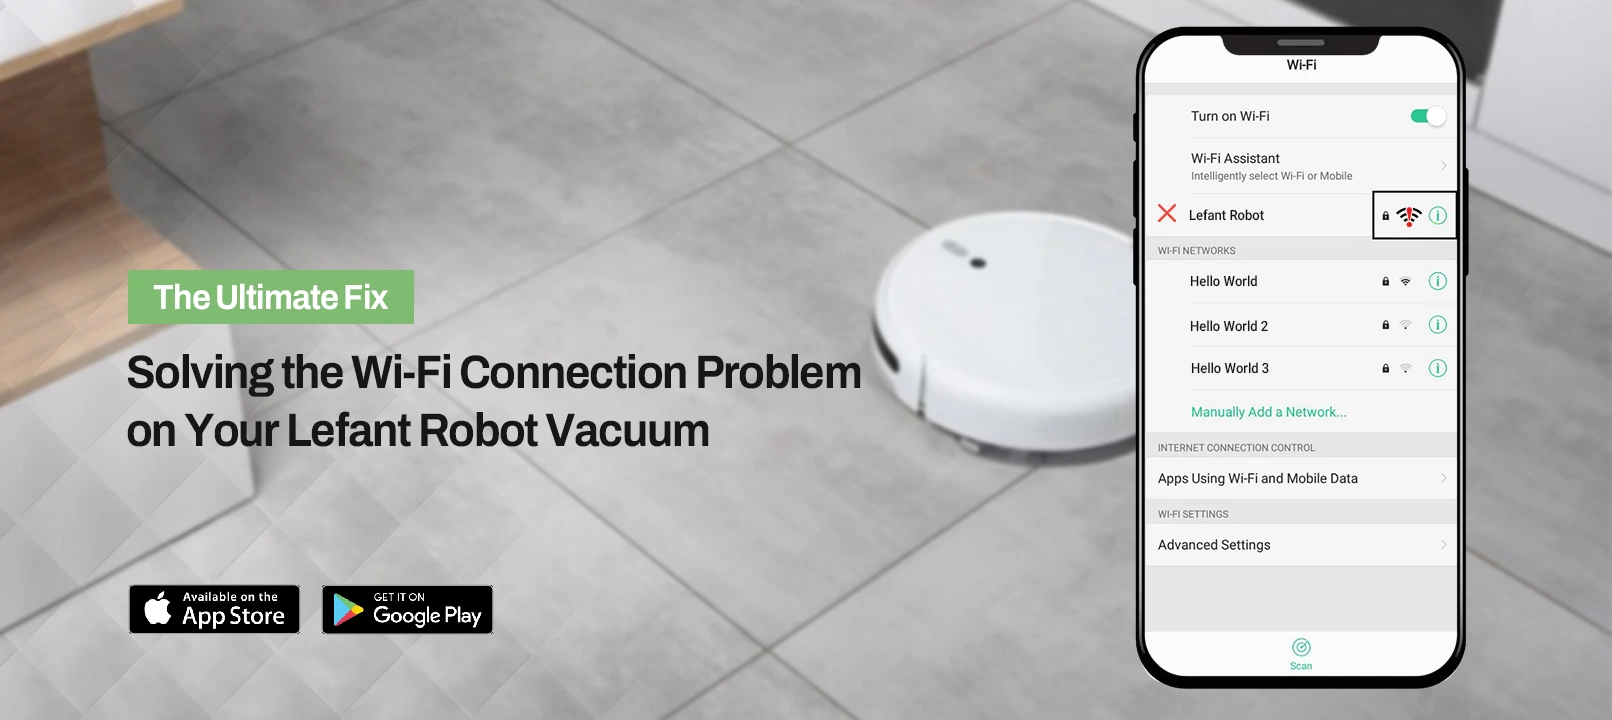
2. Connect the Vacuum to the WiFi
- The Roomba vacuum also requires a stable WiFi connection to function effectively.
- Without a proper WiFi connection, the Roomba vacuum will not work at all.
- Therefore, you must connect the vacuum to the WiFi, before you send it on the run.
- After connecting the vacuum to the WiFi, you can send the vacuum back on the run.
3. Check the Firmware Version
- The vacuum should have the latest firmware version to enable Roomba i3 mapping run.
- Otherwise, you cannot send the vacuum on a Roomba i3 smart mapping run.
- To update the firmware of the vacuum, you don’t need to do it.
- To Roomba vacuum’s firmware update is automatic.
- You just need to connect the vacuum to the WiFi for the firmware update.
These are some effective troubleshooting to fix the Roomba i3 plus mapping issues. Now the issues you were facing should be gone. You can retry mapping your house with the Roomba vacuum. We hope you understood the procedure for the mapping and the steps to enable it. If there are any issues you face with your vacuum, you can connect with our team anytime.
FAQs
How long does it take for Roomba i3 to map?
The Roomba i3 vacuum will form a fully furnished map in a single mapping run. If you feel like the map isn’t correct or some rooms are missing, you can edit. When the vacuum is done forming a map, you can edit it accordingly. Then, you can add a room and edit the map properly.
How many maps can Roomba i3 have?
The Roomba i3 supports only one map. If you want to create another map, you need to delete the previous map. After deleting the map, you can recreate a map. You can manually form a map as well or send the vacuum on a mapping run again.
Can you use Roomba i3 without the app?
No, you need to log into the iRobot app to access its settings. Without the app, you cannot set it up and access its settings correctly. Thus, ensure to install the app, log in, add the device, and set it up correctly. From the app, you can access the features the vacuum offers and customize the settings.