Techfacture WiFi range extender helps in boosting your current WiFi’s range. The addition of this WiFi extender in your home or workplace will eliminate all the dead zones. Afterward, you’ll receive a high-speed internet connection in every free space of your house. You must ensure that you have accurately proceeded with the Techfacture WiFi extender setup.
The Techfacture WiFi Extender Setup Instructions
There are two methods for the Techfacture extender setup. The first one is using the WPS button. However, if your WiFi router doesn’t support this method, you have to set up the extender using the Web UI method. The second method requires the IP address, username, and password of the extender. Follow the instructions given below:
Techfacture Extender Setup Using the WPS Button
First of all, plug the Techfacture WiFi extender into a power source.
The router should be alongside the extender for the setup.
Next, turn on the range extender by pressing the power button on the side bottom.
Fix the antenna tower ceilings before you set up the router.
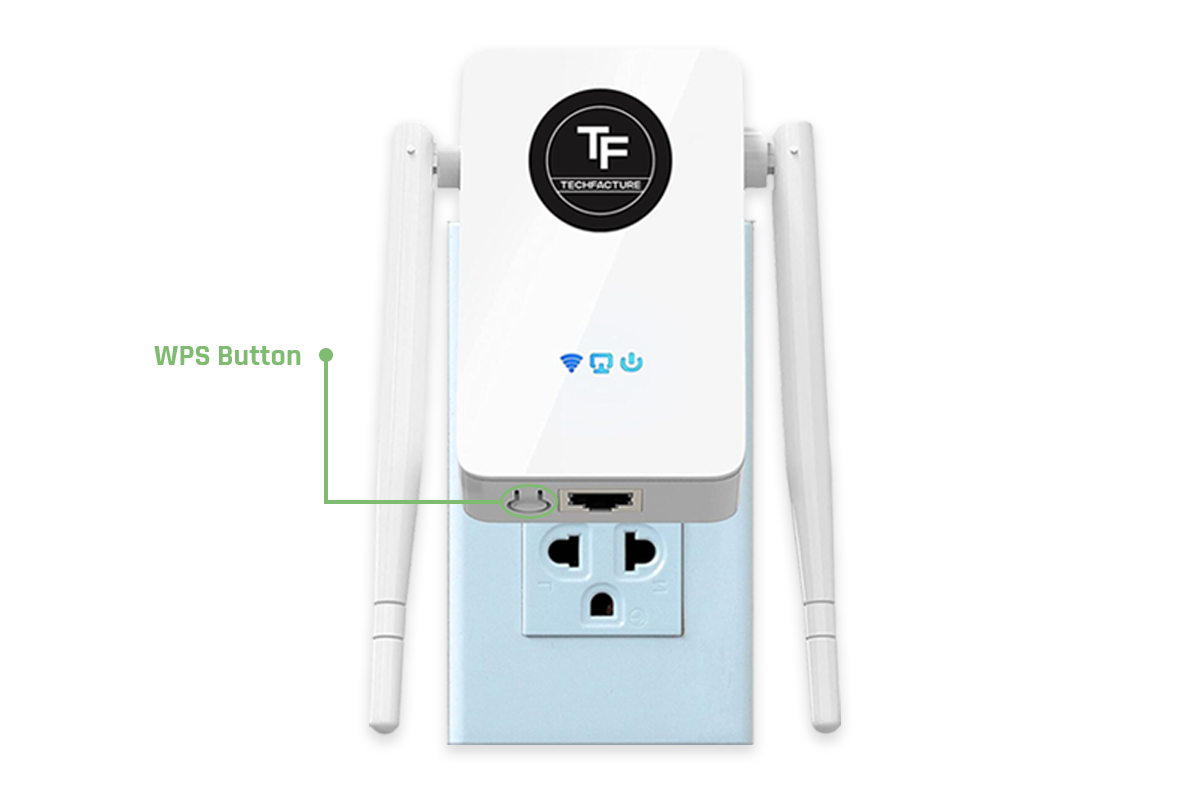
Then, locate the WPS button on the router. You can find it next to the LAN port.
Now, you have to press the WPS button on the router. After 2 seconds release it.
Within 2 minutes press the WPS button on the Techfacture WiFi extender and release it.
When the LED light solidifies on the extender, means the connection is successful.
Now, you can connect your mobile phone and computer to the extender’s network.
Techfacture WiFi Extender Setup Using the Web UI
Firstly, plug the extender into an electrical outlet close to the host router.
Secondly, connect a device to the extender’s network.
You can use an ethernet cable as well for the connection.
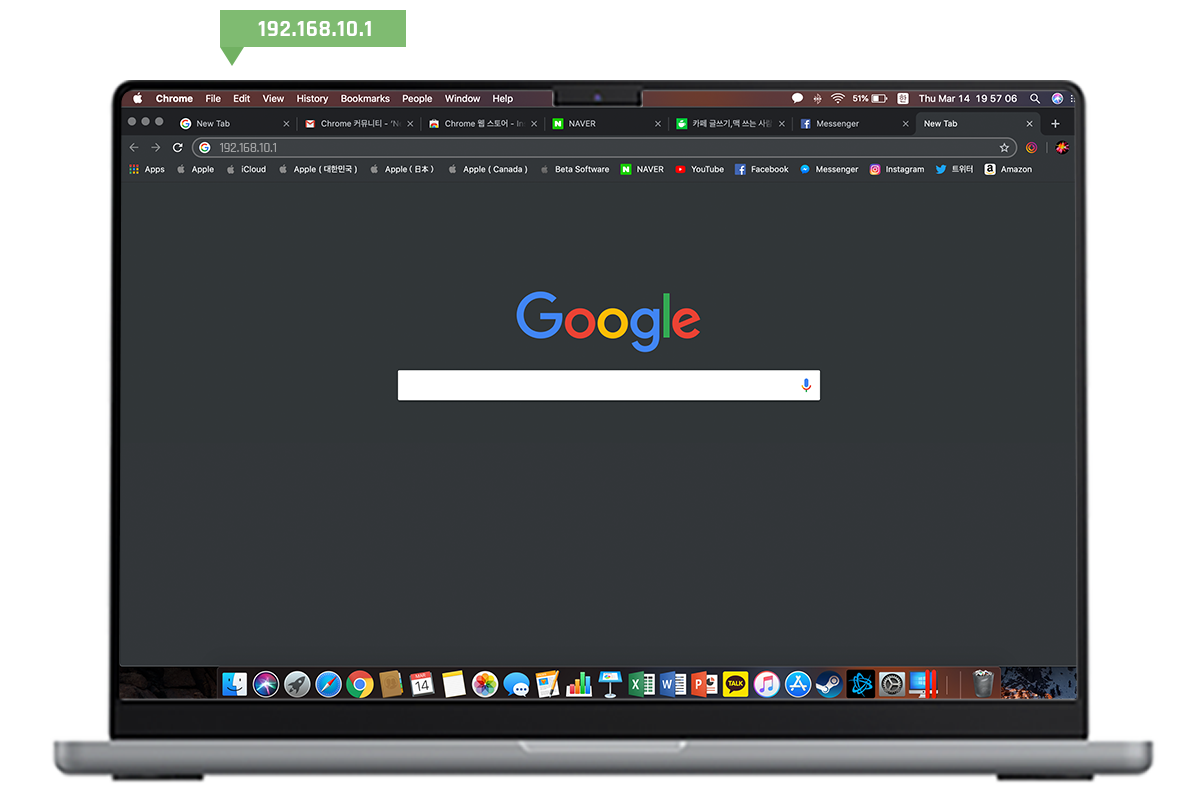
Then, from that device, open a web browser of your choice.
Hereon, enter the extender’s default IP address in the address bar.
Once the login page displays, enter the default username and password of the extender.
Once the login page displays, enter the default username and password of the extender.
After logging in, the extender will scan for all the nearby networks, and select your WiFi.
Next, enter the router’s password to complete the connection.
Then you can set a name for the extender’s network,
Now, click on ‘Apply’ to successfully connect the extender to the router.
When the connection is complete, you must relocate the extender.
When the setup is successful. You can relocate the extender and place it where you are facing a poor connection. Now you can configure the settings of the extender appropriately. If you are unable to connect the extender to the router using the WPS button, you can execute the Techfacture extender setup using the web interface.
Steps for the Techfacture Extender Reset
If you are having any issues with the extender then you can factory reset the extender to troubleshoot. The steps for the Techfacture extender reset are as follows:
First, connect the range extender to an electrical outlet and power it on.
Next, locate the WPS button on the range extender.
Then, press the WPS button and release after 10 seconds.
The extender will take some time to restore the factory default settings.
When the reset is complete, you will have to execute the Techfacture WiFi extender setup again. As the reset will restore the default settings of the extender. If you are having any issues with the Techfacture extender setup, contact our team now. We’ll provide a solution to your issue.