How to Set Up AT&T WiFi Extender?
The AT&T WiFi extender is another eminent extender known for its incredible features. This WiFi has remarkable WiFi coverage along with a high-speed internet connection. To use this extender, you must proceed with the ATT extender setup. For the setup, you must log into the web interface of the extender. After logging into the web interface, you can set up the extender and configure the settings properly. Once the setup is complete, you can get rid of all dead zones and experience impeccable signal strength.
Thus, you proceed with the ATT WiFi extender setup correctly. You must know the correct procedure for the setup. If you want to know the complete procedure, we’ve got you. In this blog, we will go over the complete setup process. So, keep reading ahead to set up the extender accurately.
Requirements for the AT&T WiFi Extender Set Up
To set up the extender, there are some things you must have. With the help of these things, you can set it up correctly. These requirements are as follows:
- A setup router
- A power source
- The WPS button
- An Ethernet cable
- The AT&T app
These are some things you must have for the ATT extender setup. Further, we will cover the procedure for the setup.
Steps for the ATT WiFi Extender Setup
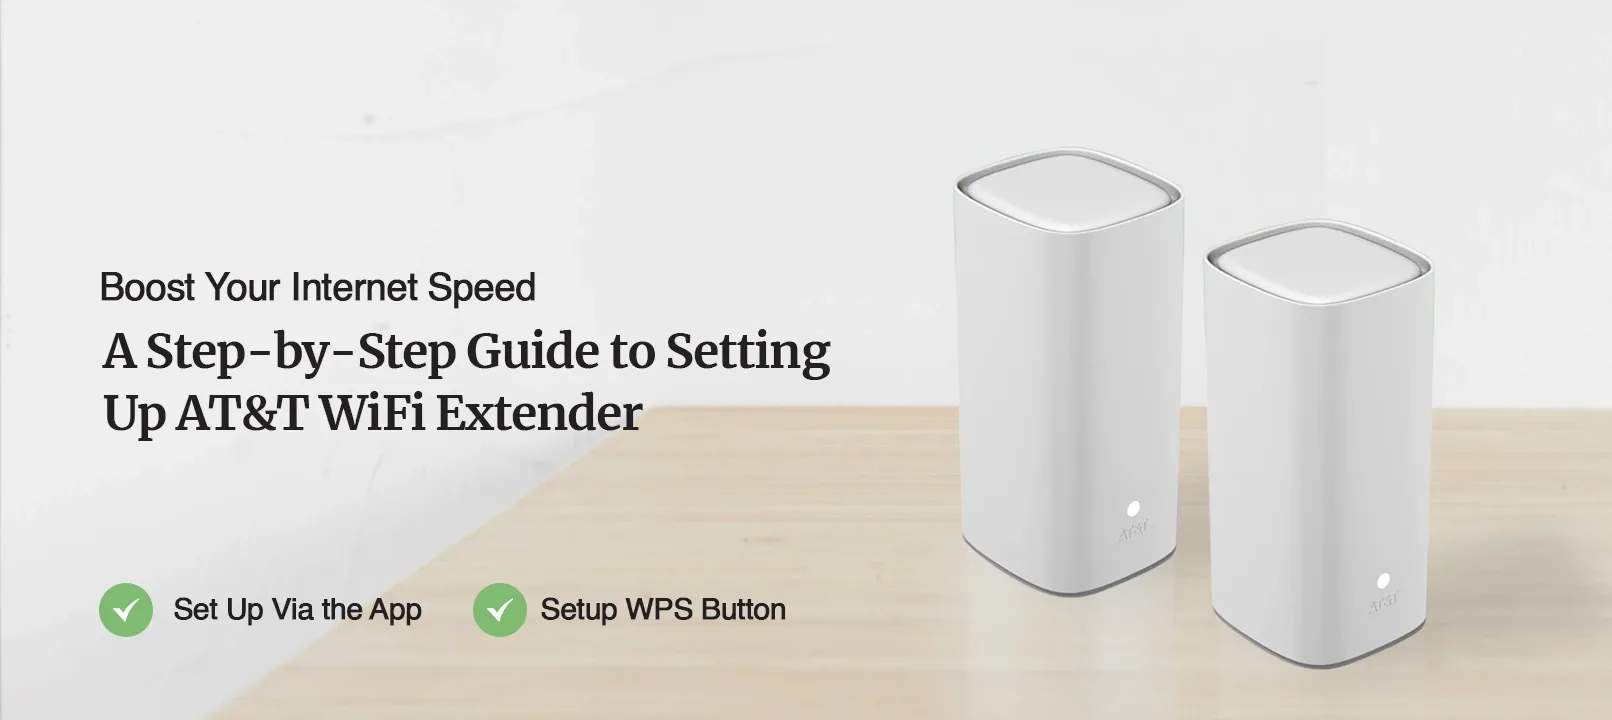
There are two methods you require for the setup. You can either set it up through the AT&T app or via the WPS button. For the former method, you can install the AT&T app from either Play Store or App Store. Through the app, you can add the device and set it up correctly. For the other method, ensure your router also has the WPS button. With the WPS button, you can set up the WiFi extender within a few minutes. The steps are as follows:
AT&T WiFi Extender Set Up Via the App
- Initially, install the AT&T app on your smartphone.
- You can download the AT&T app from either Play Store or App Store.
- Now, open the AT&T app on your phone and log in.
- If you already have an account, you can log into it.
- Otherwise, you can create an account from the app.
- Hereon, go to Tools and select the Install Smart WiFi Extenders option.
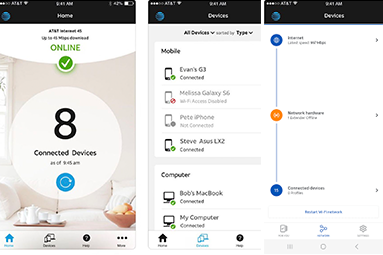
- The app will provide you with instructions to set up the extender correctly.
- It will scan for all the available networks around the extender.
- After that, you can select your WiFi network and enter the correct password.
- Give the extender some time to form a connection with the router.
- Once the connection is successful, you can configure the settings accordingly.
- Finally, you can relocate the extender and connect your devices to the extender.
AT&T Extender Setup Using the WPS Button
- To begin with, place the extender and the router in the same room and power them on.
- You need to connect the extender and the router using an Ethernet cable.
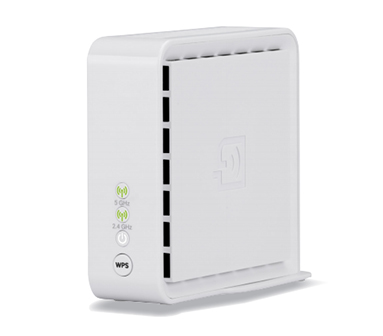
- Now, press the WPS button on the router and the WPS LED should light up.
- Within a few seconds, press the WPS button on the extender.
- Give the extender some time to form a connection with the router successfully.
- When the LED light on the extender is green, means a connection is made.
- At last, you can relocate the extender and connect your devices to it.
These are the steps for the AT&T WiFi extender set up. Once a connection between the extender and the router is made, you can experience a considerable range all over the house. After the setup, you can relocate it but ensure to place the extender inside the router’s range only. If there are any issues you are having with your range extender, you can reach out to our expert team right now.

