How to Connect Roborock to WiFi?
Roborock connect to WiFi network allows you to automate and control your device remotely. As your device connects to a WiFi network, it becomes capable of accessing your commands remotely using the internet. Moreover, most of the features of Roborock device are accessible only when it is paired with the internet. If your robot vacuum is not connected to a network or internet, it won’t be able to catch your commands. However, you will still be able to manually control the device through buttons.
The Roborock vacuum is a smart home device and it is pretty obvious for it to require an active internet connection in order to work or function properly. So if you don’t know how to connect Roborock to WiFi network, here we are with another post to discuss the same.
We have discussed everything you need to learn in order to go about the Roborock connect to WiFi task. Kindly go through the instructions given in this post.
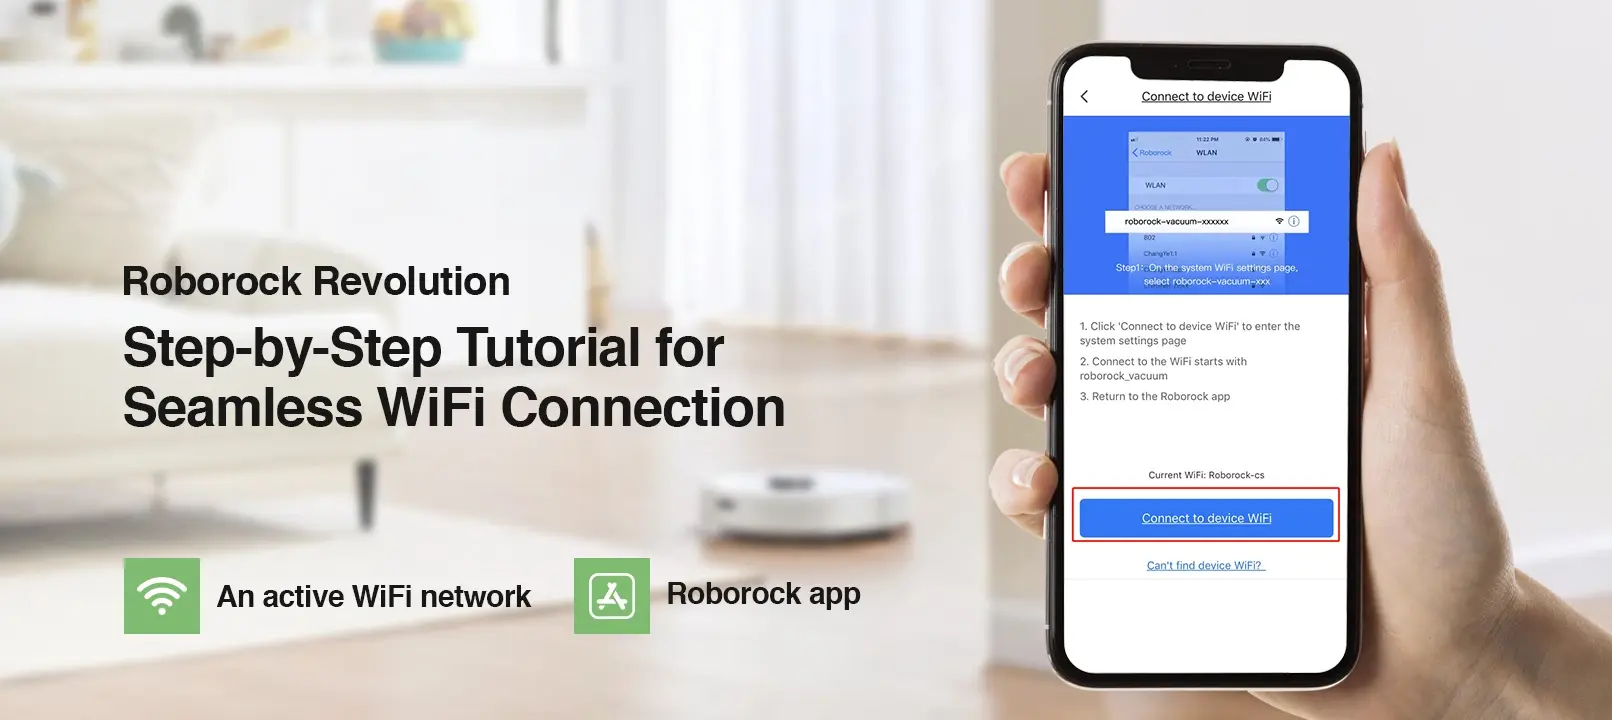
Requirements to connect Roborock to WiFi
Here are a few things that you need in order to go about the Roborock connect to WiFi process.
- An active WiFi network
- Active internet connection
- Roborock app
- A smartphone or tablet
- Roborock robot vacuum
Steps to connect Roborock to WiFi network
Well, there are two main platforms that are there on most smartphones or tablets, and that are iOS and Android. We have discussed steps to go about the Roborock connect to WiFi process on both platforms:
Android
- Firstly, ensure that the Roborock app is installed on your device.
- You can download the Roborock app from the Google Play Store.
- After that, launch the app on your mobile.
- Allow all the permissions that the app asks for.
- Next, open the Roborock robot vacuum’s cover to see the WiFi indicator light.
- Now, press and hold the Power and Dock buttons for at least 5 seconds.
- Release the buttons and you will hear a sound “Resetting WiFi”.
- Go back to the app and check for the active networks.
- Select your home network from the app and enter the WiFi password.
- You will successfully connect Roborock to WiFi network.
iOS
- We assume that you already have the Roborock app installed on your device.
- Download and install the Roborock app from the App Store.
- Open the app and tap + in the top-right corner.
- It will add your robot vacuum to the Roborock application.
- After that, press and hold the Power and Dock buttons for 5 seconds.
- A sound “Resetting WiFi” will come up as you release the button.
- Now, the application will search for all the active networks around you.
- Select your home WiFi network and enter the WiFi password to connect.
- Finally, the Roborock connect to WiFi network process will be completed.
Final word
This post was all about how to connect Roborock to WiFi network. It is super easy to connect your Roborock robot vacuum to a WiFi network using the mobile app. The Roborock mobile app is freely available on the Play Store and App Store. You can download and install the app to go through the initial configuration of your new robot vacuum.
We hope this post was able to help you go about the Roborock connect to WiFi process. We suggest that you carefully follow the aforementioned instructions in order to avoid any issues or problems with your device. If you encounter any problems with your Roborock robot vacuum, feel free to talk to our support team for more help.